Why a yeast starter helps you make better tasting beer
One of the easiest, most inexpensive ways to improve the overall quality of your beer is to make a yeast starter. As explained in our article describing tips to make better beers, yeast health and performance is critical if you wish to make better tasting beer. Here, we will describe how to make a yeast starter and better tasting beer.
When you make a yeast starter, you essentially add more and healthy yeast into your wort. When your yeast cells are healthy at the start and remain so during fermentation, your wort will ferment adequately and give the finished beer the best possible appearance and flavour. Robust growth and fermentation also mean that wild yeasts and bacteria have difficulty competing with your yeast. The use of yeast starters thus benefits your brew in two ways:
- It avoids you ending up with a sluggish or stuck fermentation, thereby reducing yeast stress and production of unwanted byproducts.
- Prevents infections to proliferate or dominate your beer, again reducing levels of off-flavours.
Pitching more yeast reduces the risk of exposing your palate to unpleasant and often overpowering metabolites. Using a yeast starter also does not allow you to slack on hygiene—cleaning and sanitizing remain (and always will be) critically important. On a final note, pitching lots of healthy yeast is always important, but especially when brewing strong beers and lagers. Your yeast cells must cope well with osmotic pressure from high gravity wort, higher concentrations of alcohol, and cold temperatures.
How to make a yeast starter
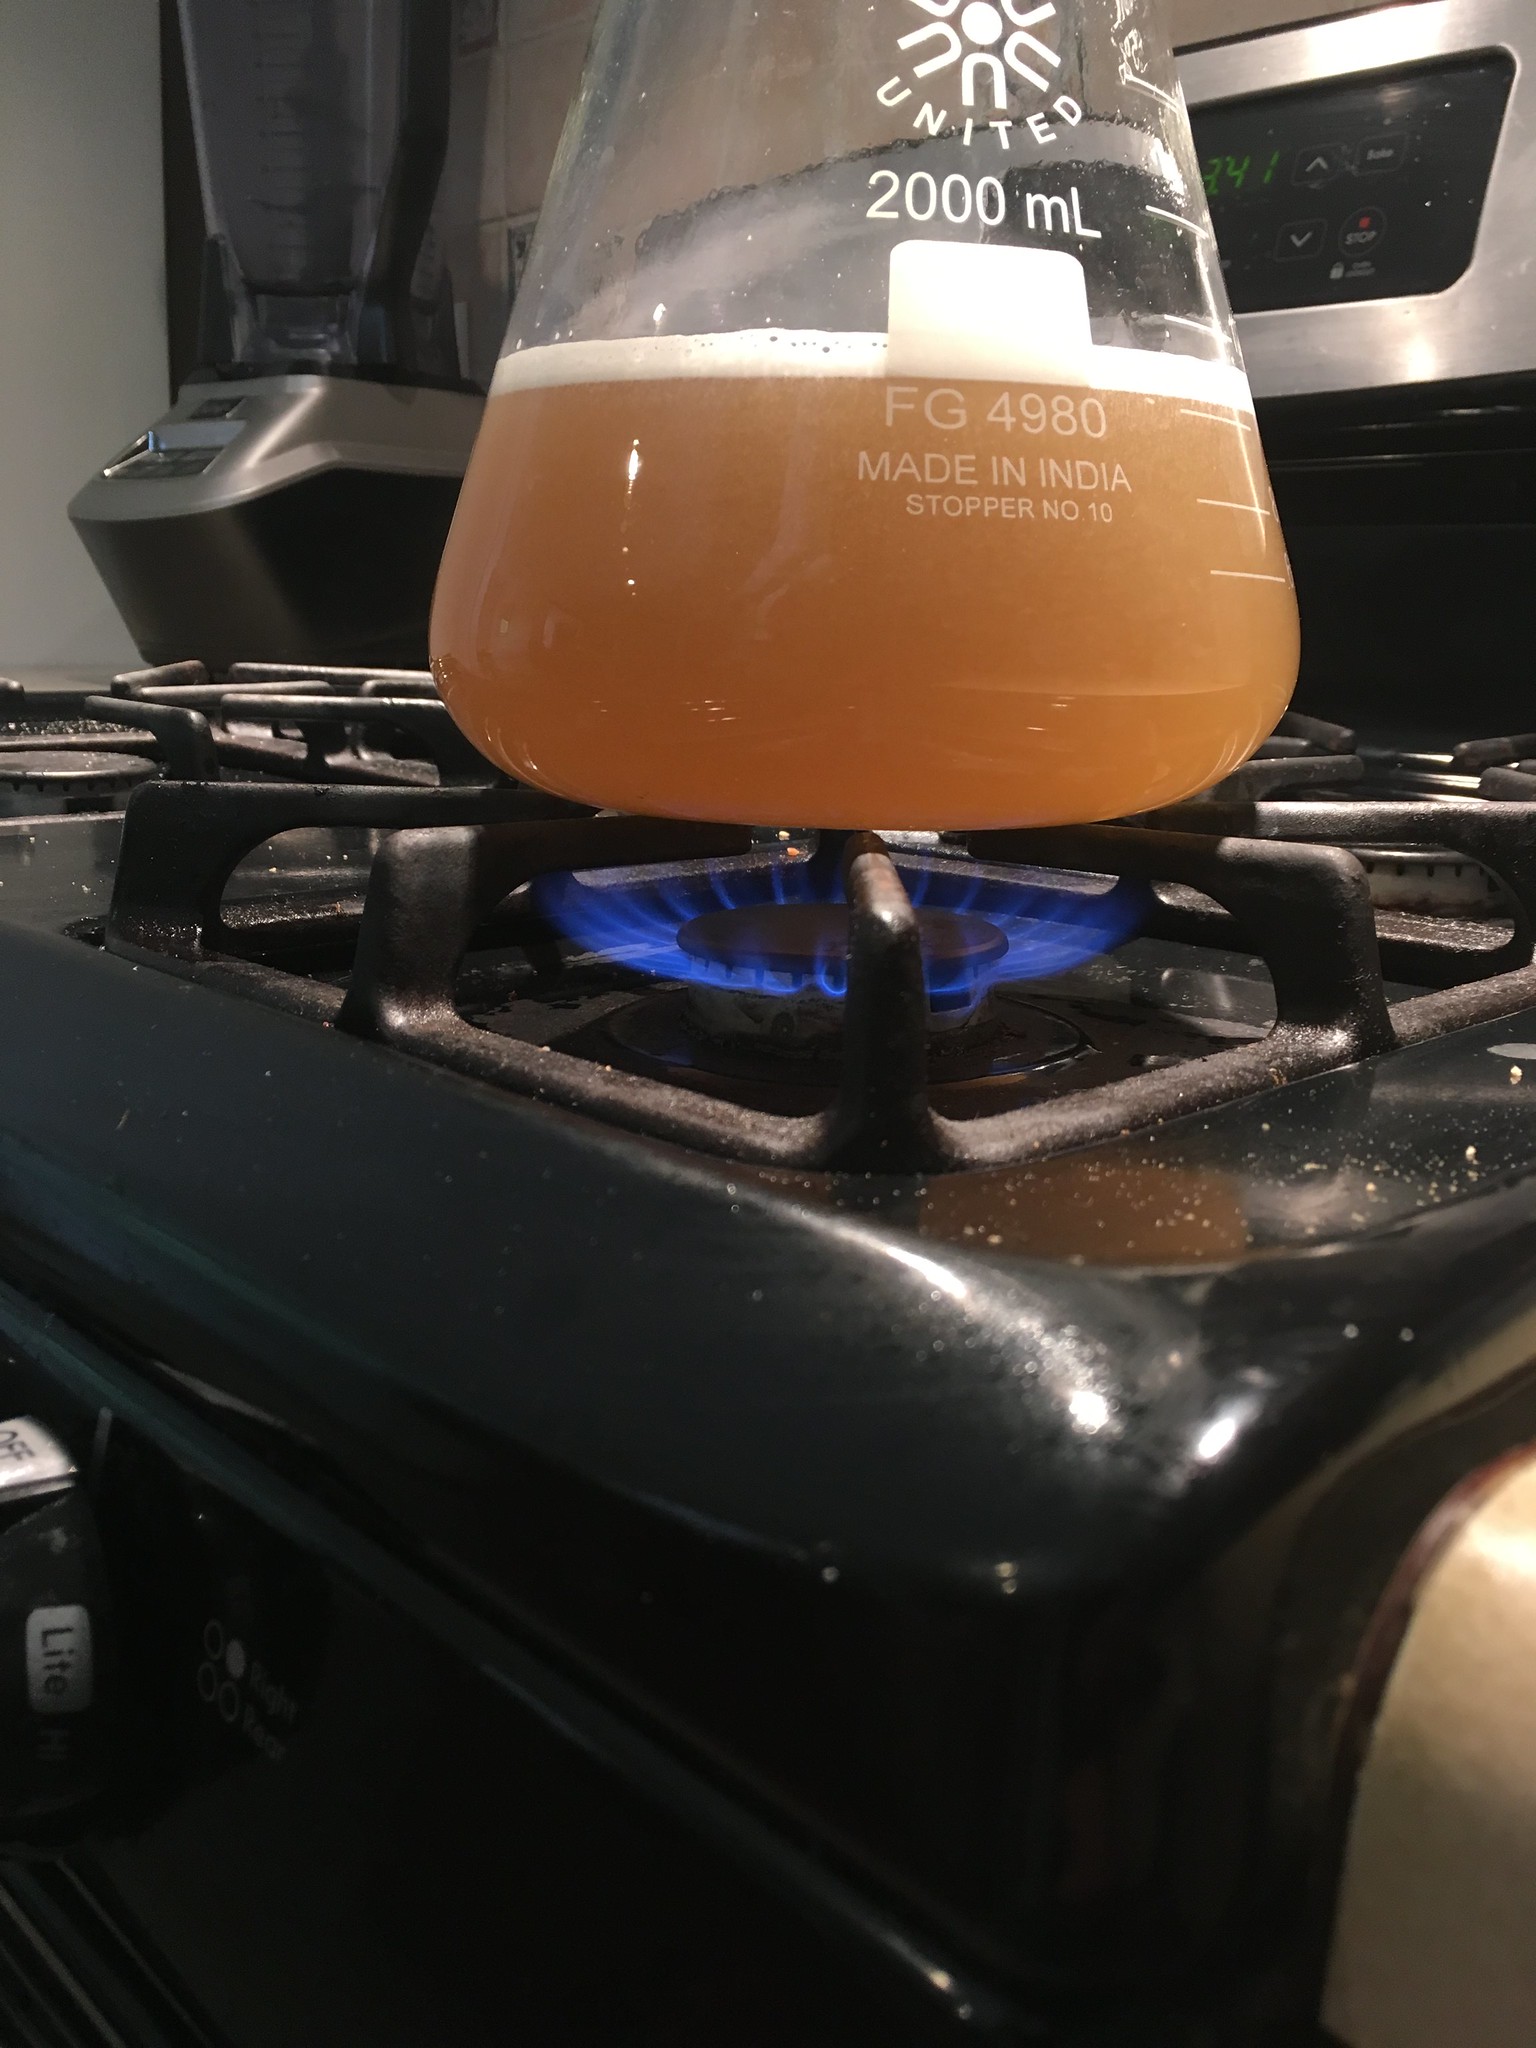
To make a 1500 millilitre starter, we recommend using a 2000 mL flask with a breathable foam stopper. Mix 1500 mL of water with about one cup of dry malt extract and bring it to a boil. Boil the wort in a large saucepan for a couple of minutes before pouring it gently into your sanitized flask. You can also cook your wort in the flask on a gas flame, and there is a high risk of the wort boiling over.
Let the wort cool in the flask (you can place it in a cold water bath to speed it up) and when happy with temperature, pitch your yeast. If you use a smack-pack, activate the yeast a few hours before pitching. If you use a dry yeast pack, sprinkle the yeast onto the surface and let it sit (and sink).
Once your yeast is in suspension, make sure to give the flask a good whirl. You want your yeast to grow, and for this, the cells require plenty of oxygen. Give the flask a robust swirl every once in a while, or use a magnetic stirrer (and stir bar) to stir your starter culture continuously. Incubate your culture at a warm temperature (this also applies to lager yeasts) as they will need optimal growth conditions. Most brewers will grow their starter for 12-24 hours and pitch their yeast straight after. If your yeast has settled down to the bottom of your flask, gently pour off your wort (leaving 200-300 mL). Swirl the flask to resuspend your yeast and pitch it into your beer wort.
Final notes on making a Yeast Starter and Better Tasting Beer
Here we described how to make a yeast starter and better tasting beer. This procedure increases both the amount and the overall health of your yeast. If you don’t like handling yeast, you could always buy an extra smack pack or two and pitch them all. Creating a starter, however, is a more efficient and cheaper way to achieve the same result. Whatever you do, set up your yeast such that they can handle turning gallons of wort into your precious beer.
Happy brewing!
The brewingbrowser.com team
To learn more about brewing beer that tastes better, please visit and read our articles in the Homebrewing 101 series. If you are interested in learning more about the science of brewing, visit our partners at The Beerologist.
Image credits and license.
Image author: Rob Friesel at found_drama. The original image in this article is used in accordance with creative commons license CC BY-NC-SA 2.0.